Settings
Custom Form
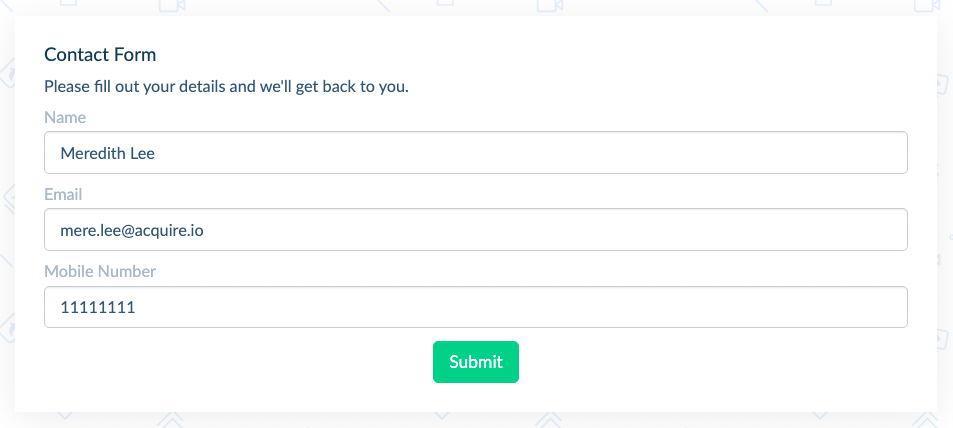
Quickly capture important visitor details and feedback with Custom Forms. These forms can now be embedded in a webpage or shared via a link. When a visitor fills out a form, their information will automatically show up in their profile section.
In this article:
- Using Custom Attributes
- Building a Form
- Customizing a Form
- Sharing a Form
- Editing or Deleting a Custom Form
Using Custom Attributes
Build forms with Custom Attributes. A Custom Attribute contains information about a contact such as name, email address, mobile phone number, and more. Custom Attributes may be used in many different ways, such as stored in a contact profile, used to match a condition in a Business Rule, and as a field in a Custom Form.
Learn more about creating Custom Attributes→
Once you have the Custom Attributes you’d like to use, you’re ready to build a Custom Form.
Building a Custom Form
To get started, go to Settings > Account Settings > Custom Forms. Click on ‘Create Form’ to build a new form.
Fill out general information about the form such as:
- Form Title - A helpful name for the form. People who fill out this form will see this title.
- Form Type - Choose a form type for tagging purposes: lead generation, custom feedback, marketing campaign, support, event registration, and other.
- Description - Directions on how to fill out the form.
Click and hold the items in the frequently used field and predefined fields and drop them into your working space. To reorganize your form, click and drag the field into the desired spot.
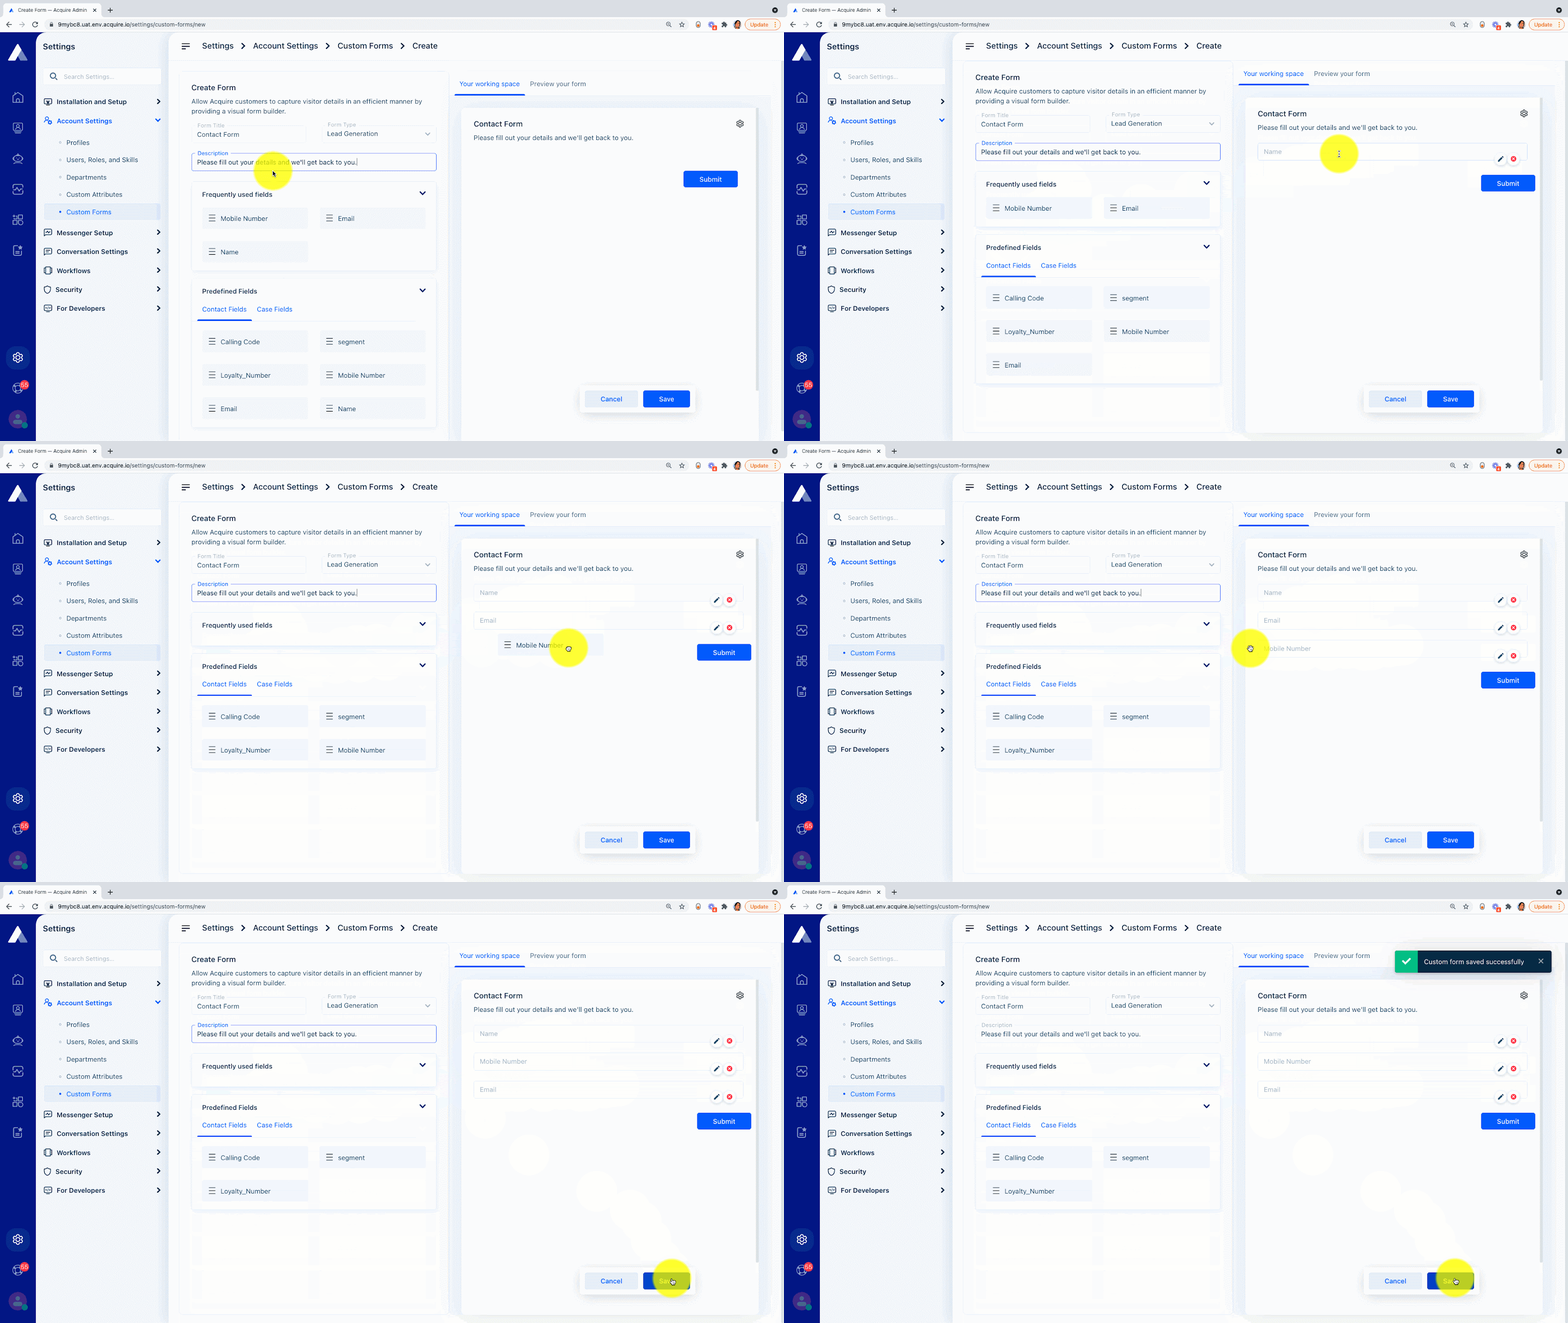
Once you’ve completed the form, click ‘Save’.
Forgot to add a custom attribute? You may create one in Custom Attributes and navigate back to your form. The new attribute should appear in the predefined fields section.
Customizing a Form
Need to give your form a certain look? Customize the look and feel of your form by clicking on the form’s setting button.
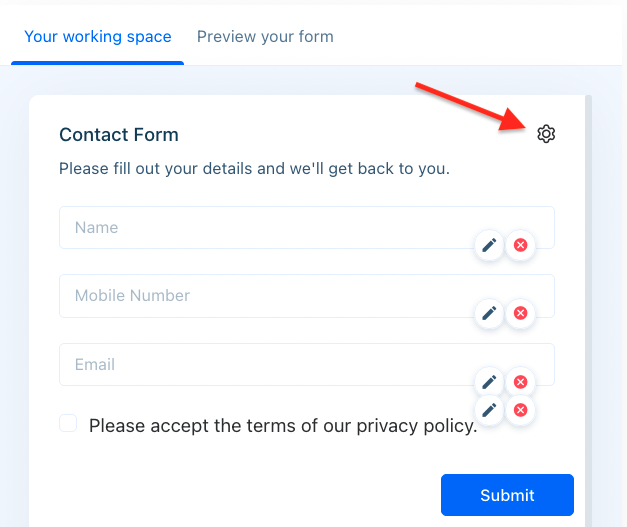
Click on the gear icon to open the customization menu.
From this menu, you may customize features such as:
- Button Text - Change the submit button text.
- Button Alignment - Align the button to the right, left, or center.
- Button Color - Change the color of the button.
- Button Radius - Sharpen or soften the button’s corners.
- Textbox Width - Shorten or lengthen the width of the textboxes.
- Textbox Corner Radius - Sharpen or soften the textboxes’ corners.
When you’ve completed the customizations, hit save. To preview the changes, use the share link.
Sharing a Form
Once a form is ready for visitors, save and publish the form from the Custom Forms list.
Under the ‘Action’ header, click on the three dots (‘...’). Select ‘Share Link’.
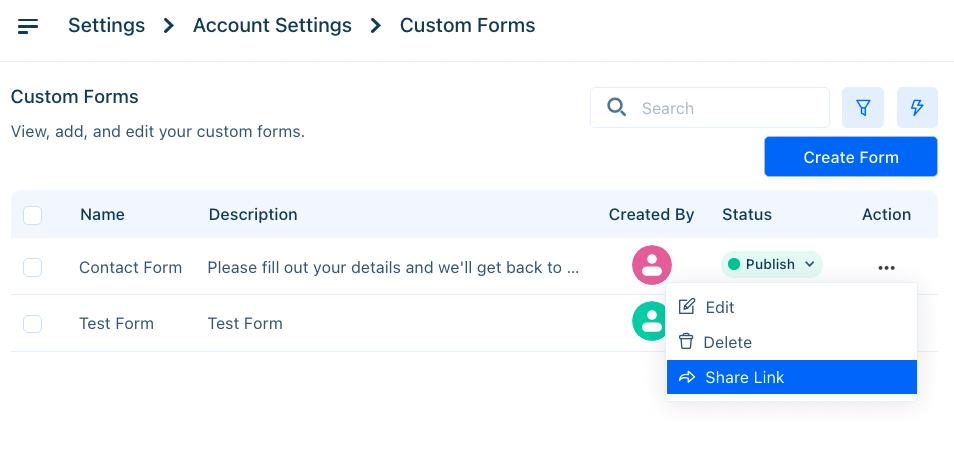
You may either copy the form code from the ‘Embed code’ tab, or use the ‘Share Link’ to share with visitors.
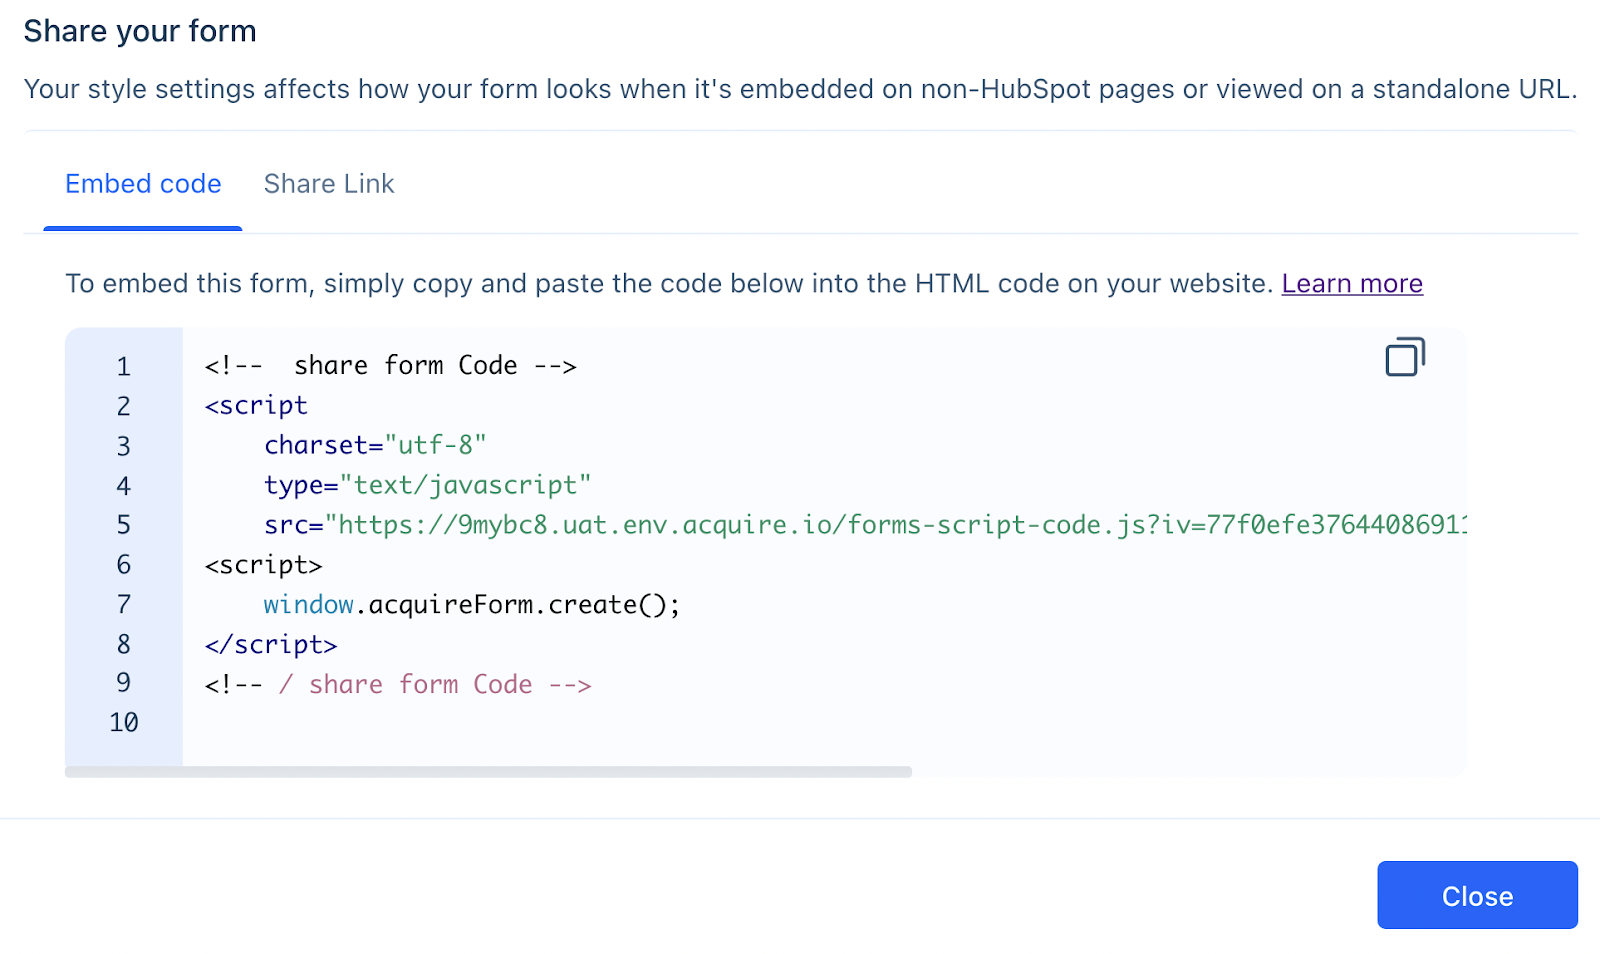
The form code.
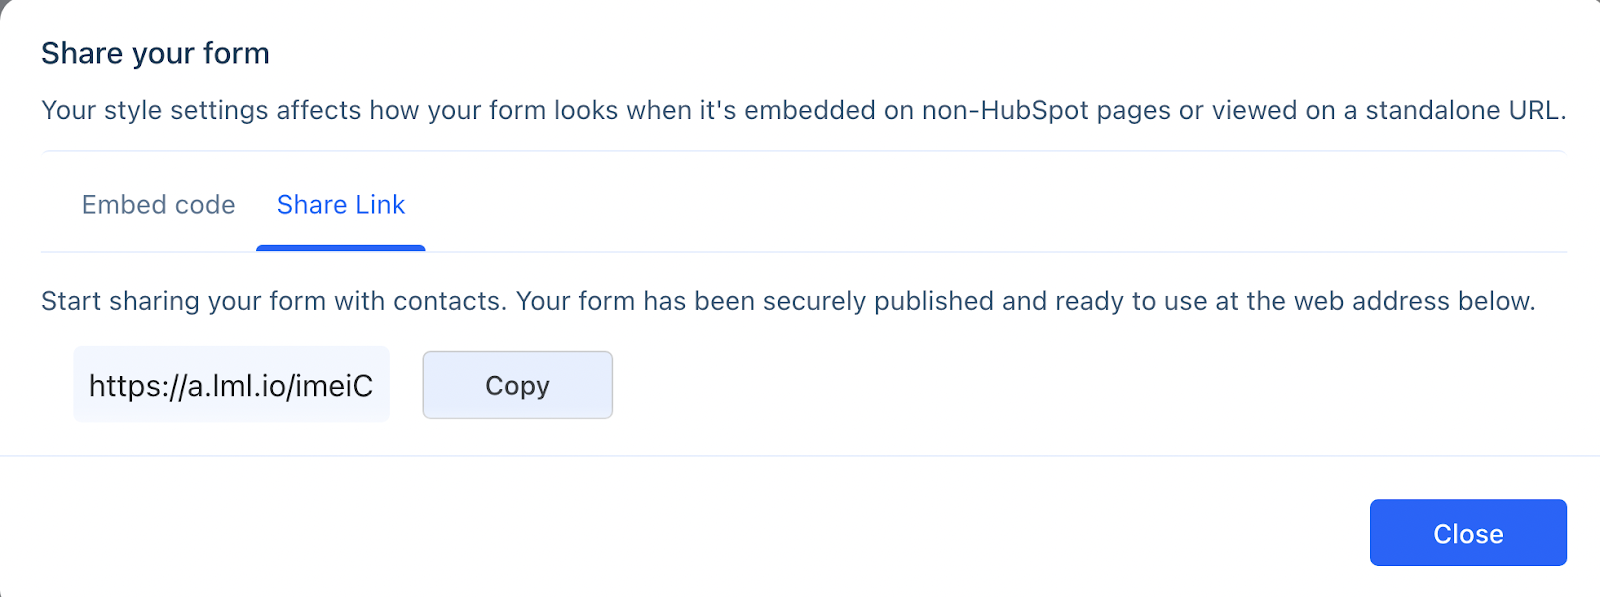
Your share link.
You may also access your share link from the ‘Edit Form’ section once you’ve saved and published the form.
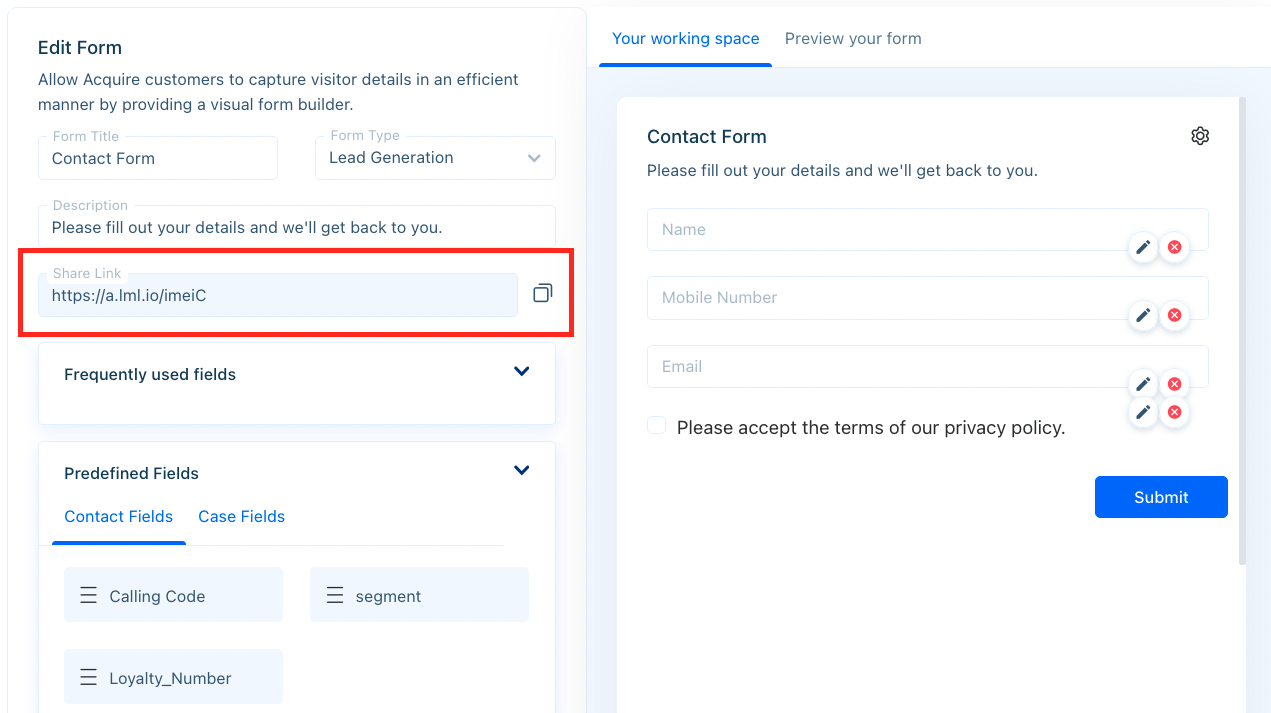
You’ll be able to access the share link once the form is published.
Editing or Deleting a Custom Form
To edit a custom form, click on the form from the form list. You may also access the form from the three dots (‘...’) under the Action heading.
To delete a form, go to the form list, click on the three dots (‘...’) beneath the action heading and click on ‘Delete’. Any form links you’ve shared, or form code you’ve added to your website, will no longer show the form. It’s best to delete the form code from your website before performing a delete action.
Having trouble? Reach out to support@acquire.io.
Was this article helpful?


