Integrations
PII Form
We're taking a deeper look at some of our integrations, including this one. In the meantime, some of the functionality described here may not work as expected. Thank you for your patience.
Safely capture PII like social security numbers in the widget without the Acquire user seeing the information.
In this article:
- Installing PII Form
- Setting Up PII Form
- Using PII Form

Installing PII Form
Go to the App Store > Widget Apps > PII Form. Click ‘Install App’. Review the app capabilities and click ‘Install’. On the next screen, review the permissions and access levels, then click ‘Authorize Access’.
Setting Up PII Form
Next, you’ll be taken to the PII Form settings. Alternatively, click the three dots ‘...’ in the upper right of the app tile and select ‘Edit’ to open the settings wizard.
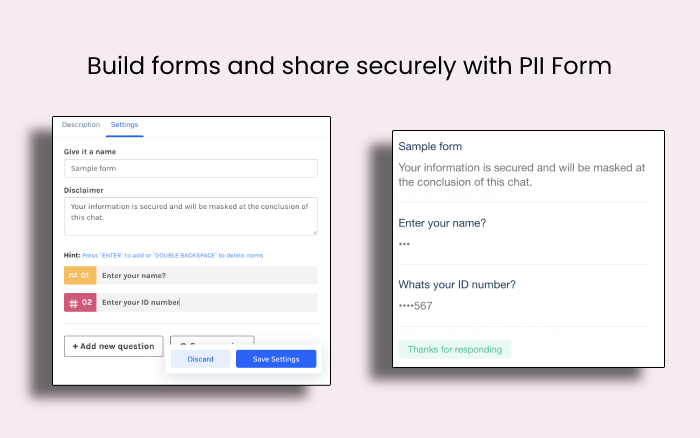
Click ‘New Form’, then enter a name and disclaimer. Next, add the form fields labels. When you are happy with the fields, click ‘Form Preview’ to see what it will look like. If everything looks good, click ‘Save’ to make the form available in your widget.
Using PII Form
In the conversation window, click the App icon and select PII form. If you only have 1 form, it will automatically push to the visitor. Otherwise, select the form you want to send. The visitor will fill out the form, and the data will display to the user in Acquire for 30 seconds. Relevant fields will also save to the contact profile.
Was this article helpful?


