Integrations
Get a Demo
Have visitors book demos in the widget. You'll also be able to capture details about them and be better prepared for your next demo.
In this article:
- Installing Get a Demo
- Using Get a Demo
- Editing and Uninstalling

Installing Get a Demo
Go to the App Store > Widget Apps > Get a Demo. Click ‘Install App’. Review the app capabilities and click ‘Install’. On the next screen, review the permissions and access levels, then click ‘Authorize Access’.
After installation, you’ll be taken back to Acquire and into Get a Demo Settings. Alternatively, click the three dots (‘...’) in the upper right of the app tile and select ‘Edit’ to open the menu. Add the email demo requests will be sent to, then complete the fields for the app’s widget appearance.

Next, use the drop down menu to select which fields to ask the visitor for when they request a demo. Add a confirmation message and click ‘Save’. Finally, navigate to Settings > Messenger Setup > Widget Apps. Click on Get a Demo and then click ‘Push App to Widget’ to complete installation.

To remove the app from the widget without uninstalling it, click on the red trashcan in Settings > Messenger Setup > Widget Apps.

Removing the Get a Demo from the widget will not uninstall the app.
Using Get a Demo
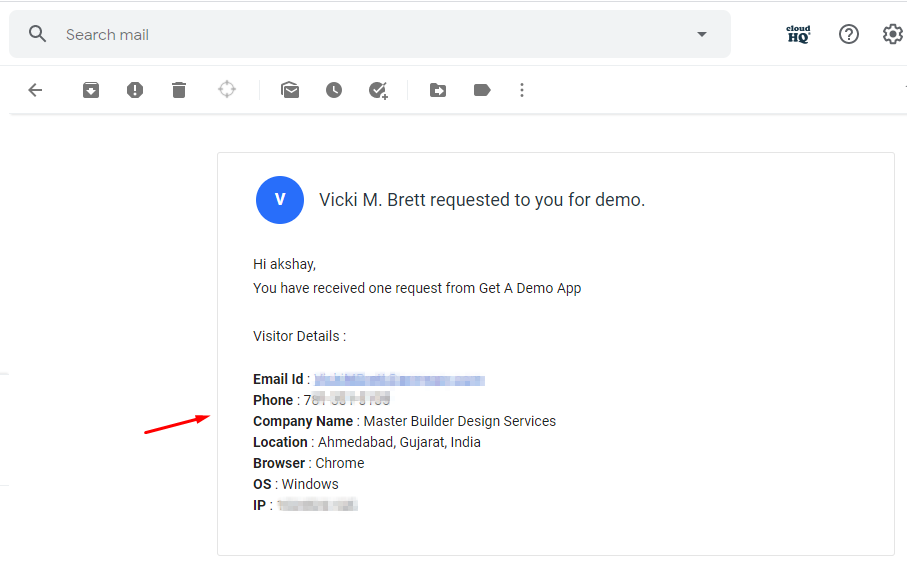
From the widget, visitors can click on ‘Get a Demo’ and complete the form to submit their request. Agents can also push the widget into the chat from the conversation window by clicking on the 'apps' button. Once submitted, an email will be sent to an agent with visitor and system information.
Editing or Uninstalling
Need to make changes to the block text? Go to the App Store and click on the three dots (‘...’) on the Get a Demo tile and select ‘Edit’. You’ll be able to make changes to the access token and email.
Need to uninstall? Go to the App Store and click on the three dots (‘...’) on the Get a Demo tile and select ‘Uninstall’. The application will be uninstalled.
Having trouble? Reach out to support@acquire.io.
Was this article helpful?


