API Getting Started Guide
Interact programmatically with Acquire’s resources through the Acquire API.
In this article:
- Available Resources
- Obtaining Requirements and Permissions
- Finding Your Account ID
- Creating an API Key
- Accessing the Developer Documentation
- Making Your First Request
- Using cURL
- Using Postman
What You'll Need:
- An Acquire Administrator account
- A Postman account and/or access to your OS's command line
Available Resources
Acquire’s API applies RESTful architecture to a variety of resources including:
- Conversation: View and manage messages that appear in the Dashboard
- Contact: View and manage your contacts
- Company: View and manage company data
- Phone: Create blocks in the timelines for audio calls
- Chatbot: Manipulate your chatbots
- Analytics: View analytic data
- Custom Cards: Create and manage your own integration
- Knowledge Base: Manage data from your Knowledge Base
- Settings/Configuration: Manage account, security, and settings data
For a full list of available resources, see the Developer Documentation→
Obtaining Requirements and Permissions
To use the API, you must first know your account_id and possess a valid API Key.
Finding your Account ID
To find your account_id, log in to your instance through a web portal. The account ID is the instance’s subdomain.
Creating an API Key
Step 1: To create an API key, log in to your Acquire instance.
Step 2: Go to Settings > For Developers > API Keys.
Step 3: Select ‘Create API Key’.
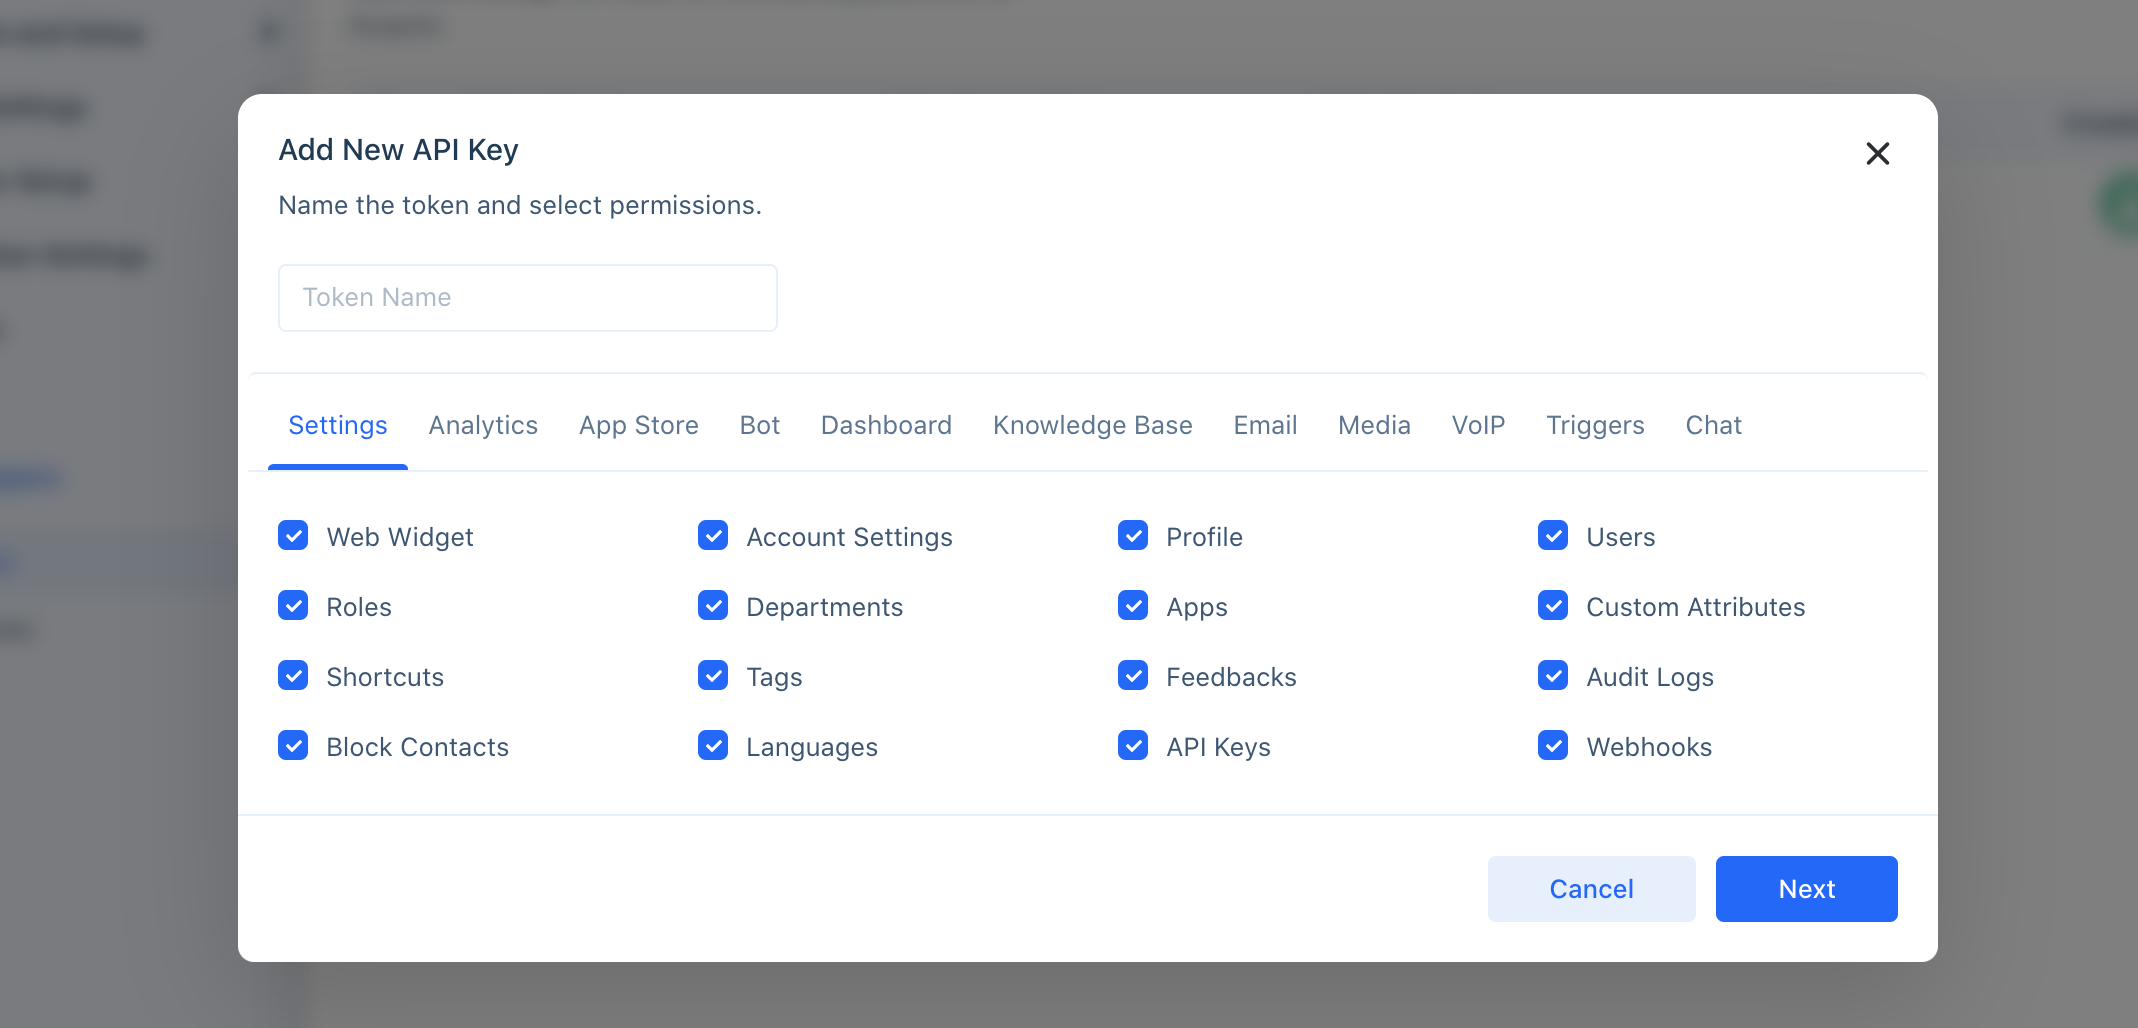
Step 4: Name the token and select either ‘Full Access’ or ‘Custom Permissions’.
Full Access
Automatically gives full access to the key holder. Please be aware that changes made in this mode affect the entire platform.
Custom Permissions
Specify data to manipulate. The key holder will only be able to make changes for:
- Settings
- Analytics
- App Store
- Bot
- Dashboard
- Knowledge Base
- Media
- VoIP
- Workflow
- Chat

Step 5: Select ‘Next’. An access token will appear. Copy your access token to the clipboard and store in a safe place. You will need to create a new one if you misplace it.
Accessing the Developer Documentation
To view a list of endpoints, parameters, and examples, go to the Developer Documentation.
Making Your First Request
After obtaining the necessary permissions and information, you're now ready to make your first request. This guide covers cURL and Postman methods. We will make a GET request to 'https://{{account_id}}.acquire.io/api/v1/crm/objects/company/1’ to obtain a company’s details.
Note: you should have a least one company in your instance.
Using cURL
Step 1: Open your Terminal in Mac or Command Prompt if using Windows.
Step 2: Paste curl --location -g --request GET 'https://{{account_id}}.acquire.io/api/v1/crm/objects/company/1'--header 'Authorization: Bearer {{API KEY}}'
Note: You may need to delete extra spacing.
Step 3: Change {{account_id}} to your account ID and delete the curly braces. Change {{API_KEY}} to your API key and delete the curly braces.
Step 4: Press ‘enter’ or ‘return’ on your keyboard. You should receive an object containing details about the first company created in your Acquire instance. See example below:
{"data":{"dateCreated":"2020-09-03T03:59:16.000Z","dateUpdated":null,"id":1,"fields":{"name":"Acquire io","website":"https://acquire.io/","logo":"https://app.acquire.io/assets/img/logo-small-1.svg"}}}
Using Postman
Step 1: Log in to your Postman account.
Step 2: Select ‘GET’ from the HTTP verb dropdown menu.
Step 3: Copy and paste the endpoint in the bar.
Step 4: Navigate to the ‘Authorization Tab’ and select ‘API Key’ from the ‘TYPE’ dropdown menu.
Step 5: Set your ‘Key’ to 'Bearer Token'.
Step 6: Press ‘Send’.
You should receive an object. See example below:
{
"data": {
"dateCreated": "2020-09-03T03:59:16.000Z",
"dateUpdated": null,
"id": 1,
"fields": {
"name": "Acquire io",
"website": "https://acquire.io/",
"logo": "https://app.acquire.io/assets/img/logo-small-1.svg"
}
}
}
Note: All POST and PUT requests should have their bodies formatted in JSON.
If you’re having trouble, reach out to support@acquire.io
Was this article helpful?


