For Administrators
Tagging Contacts & Conversations
Organizing contacts and conversations into groups with tags is simple. Acquire Administrators create a preset list of tags like ‘bug’, ‘enterprise’, and ‘billing’. Then, any Acquire user can add a tag to an individual conversation, say for labelling a new product bug, or a contact, such as the IT person in charge of integrations.
In This Article:
- Creating New Tags
- Tagging Conversations
- Tagging Contacts
- How to Use Tags
- Tag Analytics
Creating New Tags
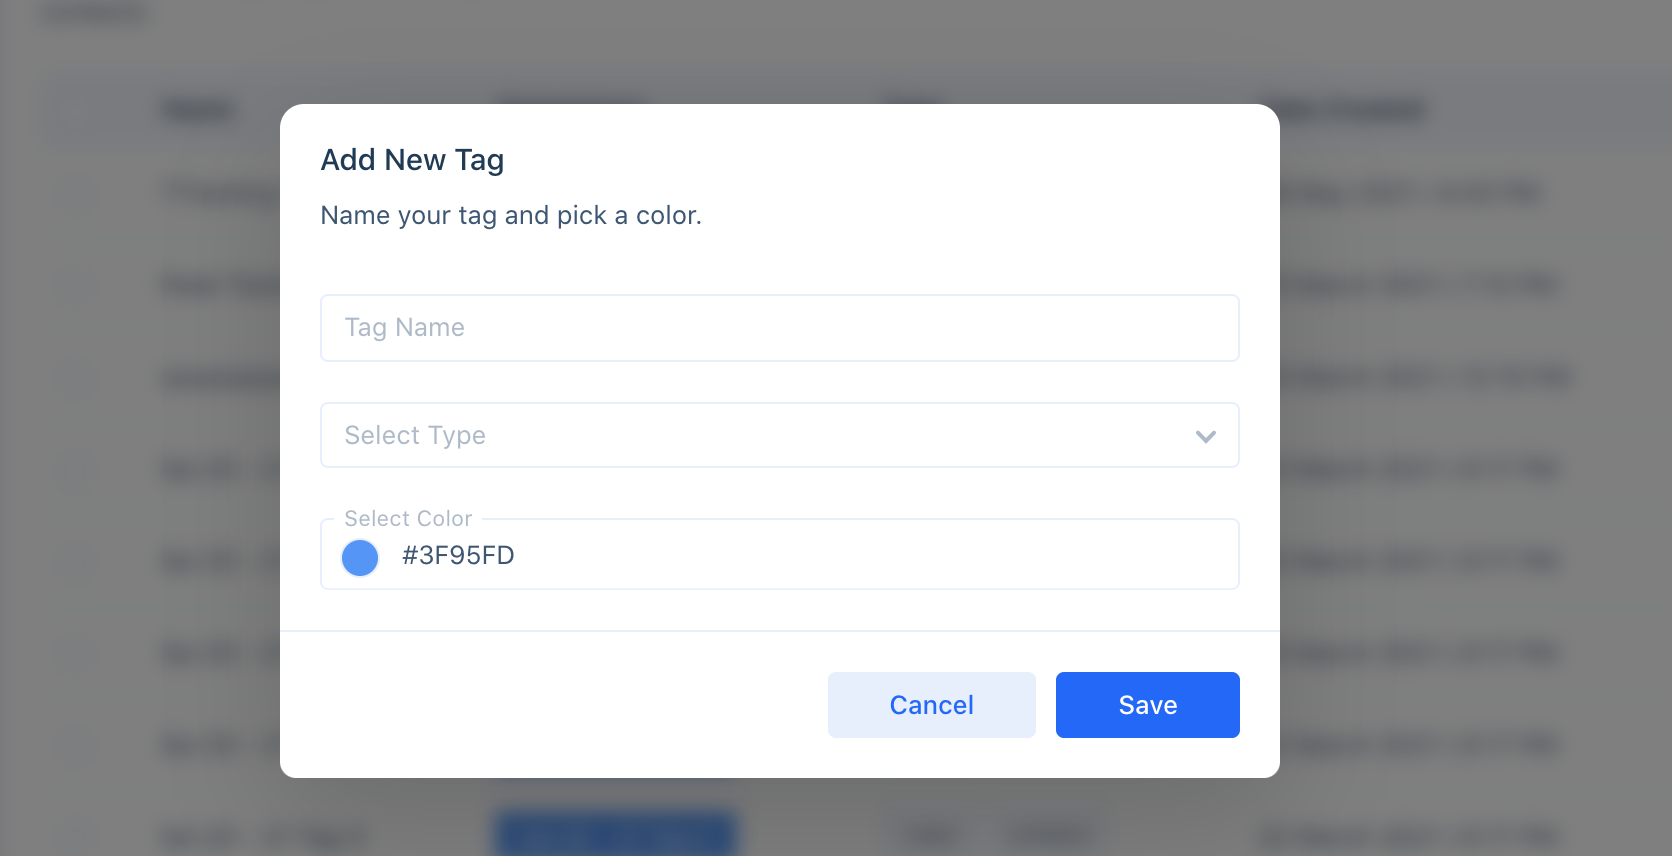
Admins can create new tags by navigating to Settings > Conversation Settings > Tags. Click ‘Create Tag’ in the upper right corner. In the dialog box, add a tag name, select a type (case and/or contact), and select a color. Click ‘Save Tag’ and your new tag is ready.

Tagging Conversations
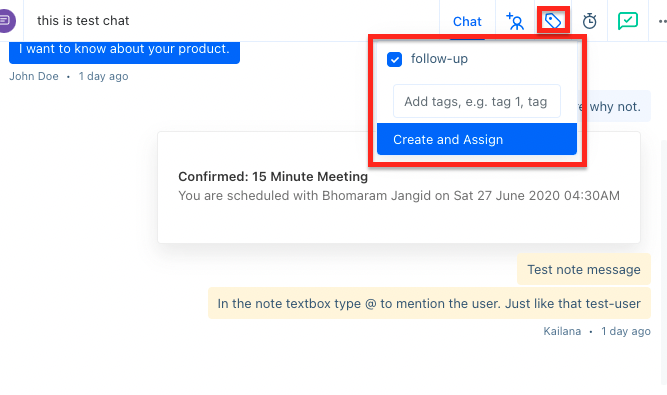
Tag a conversation by clicking the tag icon in the conversation window. In the menu, select the tag(s) you want to add and click ‘Create and Assign’. You may also create tags from this menu (though you should update them in Settings > Conversation Settings > Tags later).

Tagging Contacts
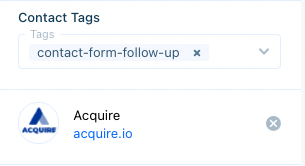
To add tags to your contacts, go to the Dashboard. Open a contact’s profile by clicking their name. Then, in the right pane, scroll down to assign tags. Use the drop-down to select the tag(s) you want to add.

How to Use Tags
To see all of the contacts with a specific tag, navigate to the Dashboard, click ‘+ Add More’, and select Tag. Then choose the tag you want to filter by and click ‘Close’.
If this is a segment of visitors you plan to use in the future, click ‘Save Segment’ and give it a name. It will now be available in the left hand navigation menu.
Note: Segments can have more than one parameter or tag. Use the advanced search function to add additional fields to filter contacts.
Was this article helpful?


