Dashboard
Accepting & Responding to Incoming Chat Conversations
Start chatting with visitors in just a few clicks. Learn how to answer incoming conversations, transfer to other users or departments, and complete follow-up
tasks.
In this article:
- Answering an Incoming Chat
- Starting a Cobrowse, Screen Share, Call, or Video
- Additional Chat Actions
- Closing the Chat
Answering an Incoming Chat
All incoming conversations will display an alert in Acquire. To answer the pending conversation, click ‘Accept’.

Pending conversations will also appear in the left sidebar under (you guessed it!) ‘Pending’. Click on a conversation to accept it into your queue.
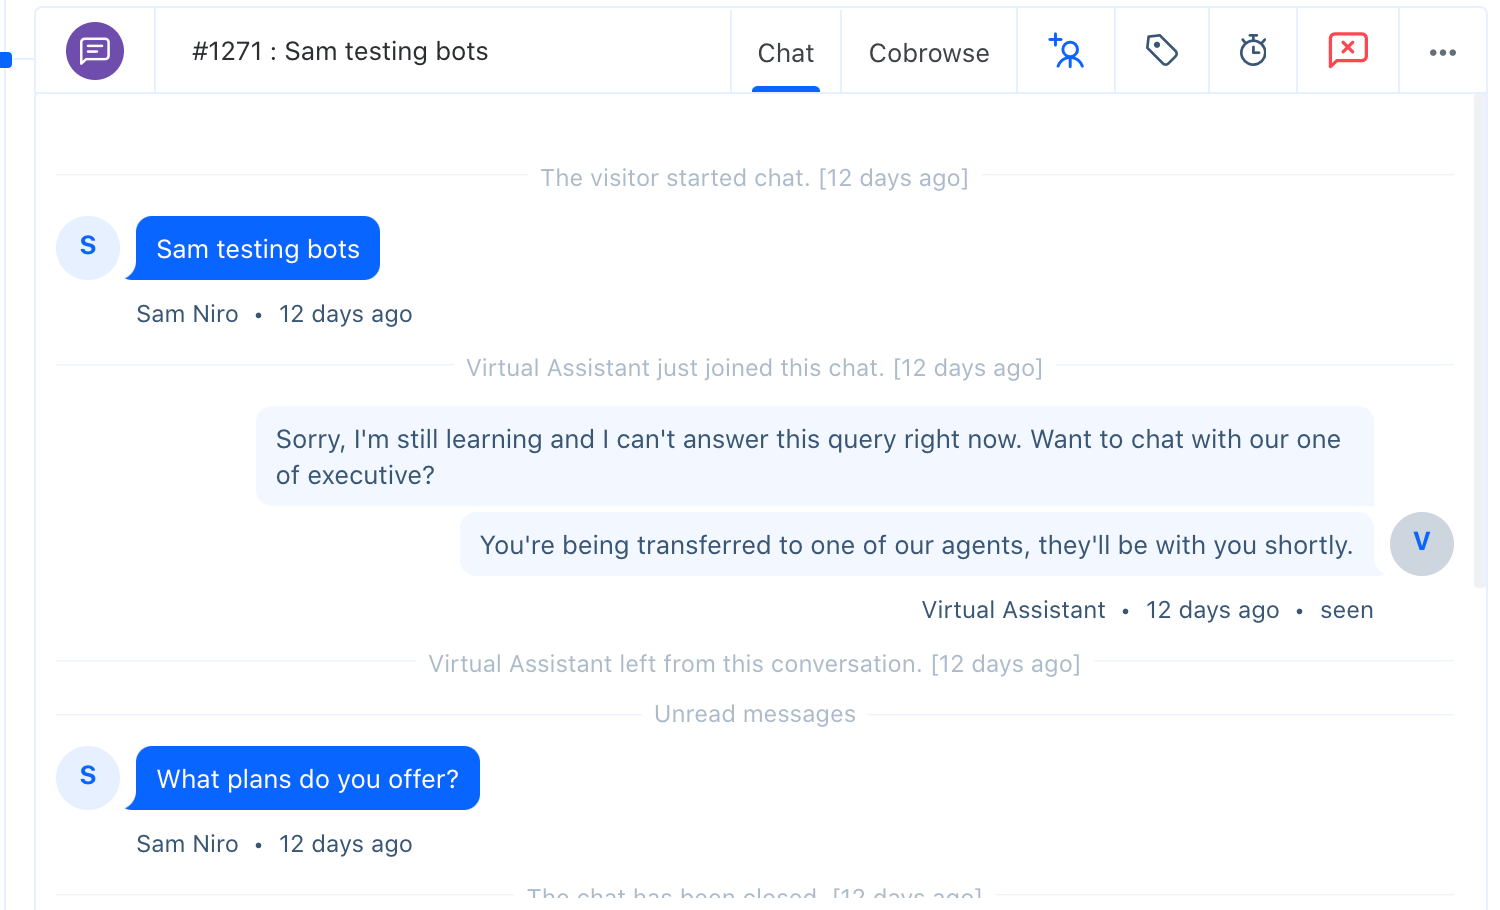
Once you’ve accepted a conversation it will move to ‘Active’ and the chat window will open. Here you’ll see the conversation timeline and any previous activity like Chatbot responses.
Note: Agents may have more than one active conversation at a time.

From here, you’ll be able to type a response, insert a Widget App, attach a file, translate the message, or add notes.

Escalating to a Cobrowse, Screen Share, Voice Call, or Video
Text just not cutting it? Escalate the conversation to a more collaborative channel.
Initiate a Cobrowse session directly from the conversation by clicking ‘Cobrowse’. Choose ‘Request User Cobrowse’ to initiate the session. In some accounts, Silent Cobrowse may also be an option. Learn more about Cobrowsing →

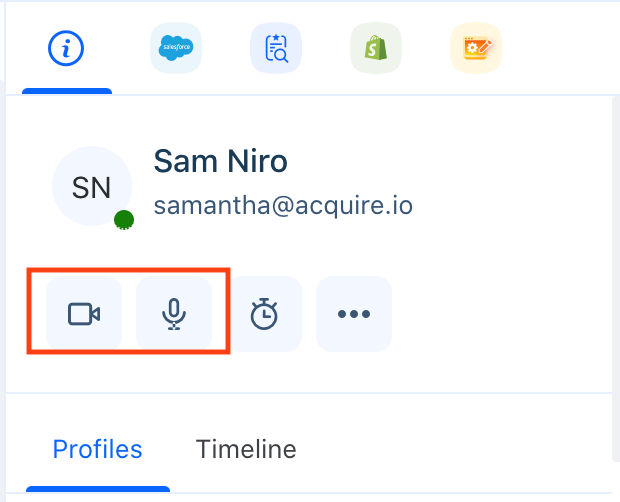
Start a voice or video call by clicking the appropriate icon in the visitor’s profile.

Additional Chat Actions
While speaking with a visitor, there are additional actions you can take within Acquire, including:
Snooze
Pause conversations and remind yourself to respond later using the Snooze function. Click the timer icon to open the snooze menu, and select when you’d like to receive the notification. Add a message to remind yourself what you need to follow up on.

Transferring Chats
Conversations can be transferred to other users or departments by clicking in the chat navigation and selecting from the drop-down list.

Leaving Notes
Add important details and context to conversations like the need for a new knowledge base article or a repeat complaint. Click on the icon to add a note. Notes are only visible to your teammates.
Tagging Conversations
Add tags to a conversation to help your team stay organized and keep track of trends, common queries, and more. Click the tag icon to add a tag.
Mail Transcript
Send a chat transcript via email to the visitor, yourself, or other interested parties. Click the send email icon . Then, click the three dots ‘...’ in the top right-hand corner and choose Mail Transcript from the drop-down list.
Merge Conversation
Are there multiple conversations on the same topic with this visitor? Merge them together.
To do this, click the three dots ‘...’ in the top right-hand corner and choose Merge Conversation from the drop-down list.
Note: Merging is only available for conversations on the same channel, meaning you can’t merge a call and a live chat.
Closing the Chat
It’s important to close chats when they are complete, otherwise, your analytics data may be skewed. Close the chat by clicking the chat icon and selecting ‘Close’ The chat is closed when the icon turns red with an ‘X’ inside.
Was this article helpful?


