Integrations
DocuSign
We're taking a deeper look at some of our integrations, including this one. In the meantime, some of the functionality described here may not work as expected. Thank you for your patience.
Save time getting signatures by integrating DocuSign with Acquire. This integration allows your team to send documents for signature right from Acquire in just a few clicks. Access document and signature history, including signed copies, from the conversation timeline and contact profile. Your team can see if a document was viewed, download completed versions, and see which documents a contact was sent.
In this article:
- Connecting DocuSign
- Creating a DocuSign App
- Completing the Integration
- Sending an Envelope
- Downloading a Completed Document
- Viewing Envelope History
- Editing or Uninstalling DocuSign
What you’ll need:
- A DocuSign account with administrator access
Connecting DocuSign
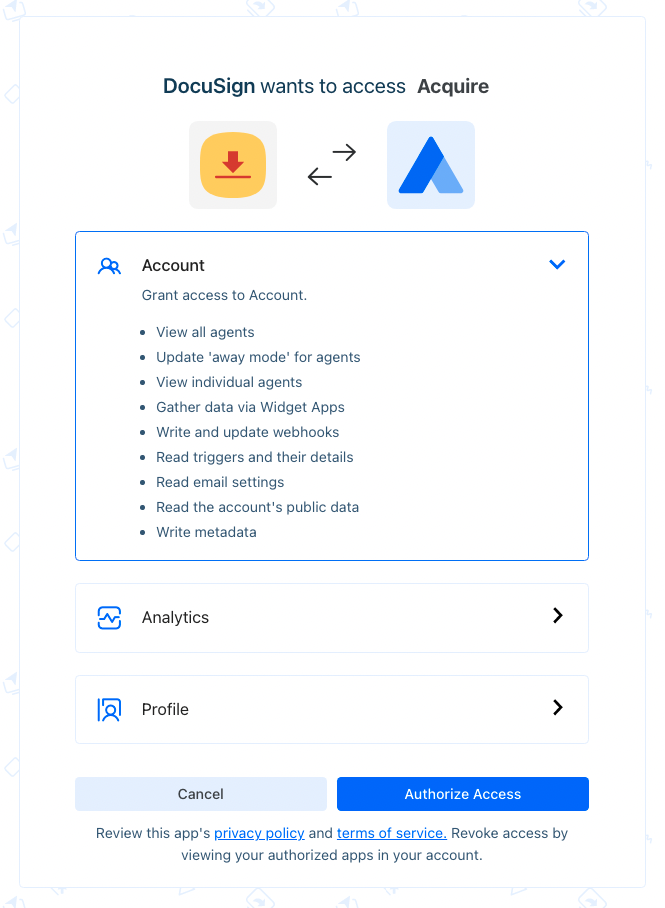
Install the app by navigating to the App Store > eSignatures > DocuSign and click 'Install App'. On the next page, click the ‘Install App Now’ button. On the following screen, review the app permissions and click ‘Authorize Access’.
You’ll be redirected back to Acquire to complete the setup. In the Settings tab, copy the redirect URI.
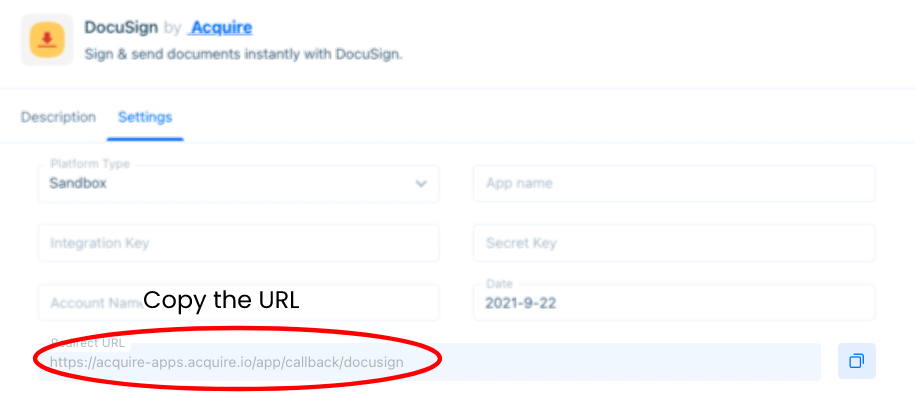
You can go ahead and fill out the other information if you know it, but you won’t be able to complete the setup until you’ve pasted the redirect URL into DocuSign.
It’s best to open a new window or tab to complete the integration instead of navigating away from the current window.
Creating a DocuSign App
To integrate with Acquire, you’ll need to set up a DocuSign app or edit an existing one. In DocuSign, go to Settings > Integrations > Apps and Keys and click on ‘Add App and Integration Key’ or edit your existing app. From the new menu:
- Name your app
- Copy the integration key
- Add a secret key and be sure to copy it
- Add the redirect URI
Be sure to save your settings before navigating away.
Learn more about DocuSign integrations here.
Completing the Integration
Back in Acquire, go the DocuSign Settings tab and enter your DocuSign sandbox or live app details:
- Environment Type
- App Name
- Integration Key
- Secret Key
- Account Name (company name)
- Date
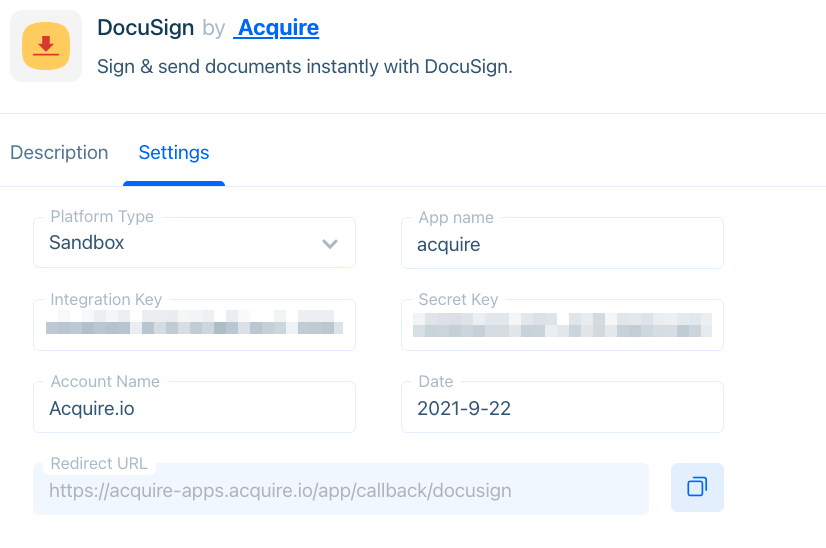
Click ‘Save’. You’ll be redirected to DocuSign. You may be prompted to log in. After logging in, you’ll be sent back to Acquire.
Your integration is successful when a green tick and the words 'Already Installed' appear next to the DocuSign app icon to Acquire.
Sending an Envelope
Sending Envelopes during a live chat is easy. In the conversation window, click the DocuSign icon in the contact profile. Choose the file you want to send and click ‘Send Envelope’.
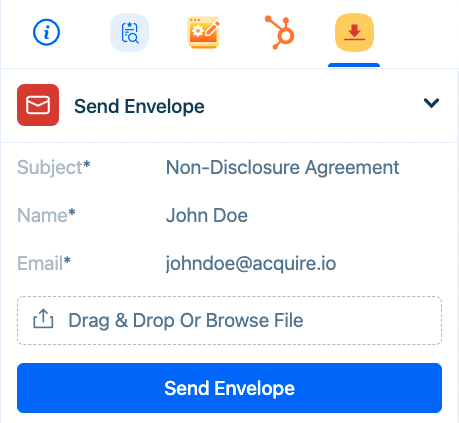
After clicking ‘Send Envelope’, an email will be sent to the recipient. Be sure to communicate that they should check their email.
Once sent, the action will appear in the conversation timeline as a conversation block.

The visitor will receive an email from DocuSign to review and sign the document. The email will be sent to the address in their Acquire contact profile.
Note: If you do not have the visitor’s email address, you will need to add it to their contact profile before using the DocuSign app.
Downloading a Completed Document
In the Envelope record on the conversation timeline, you can view document activity and download a copy of the certificate. To download a copy, click ‘View Certificate’.
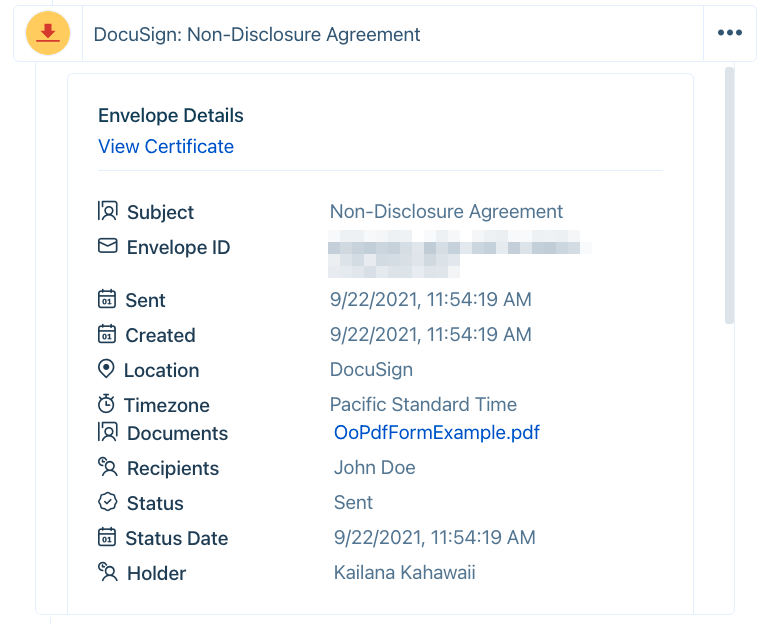
You’ll see information about the envelope. To download a copy in PDF format, click on ‘View Certificate’.
Scroll down to see a history of the document.
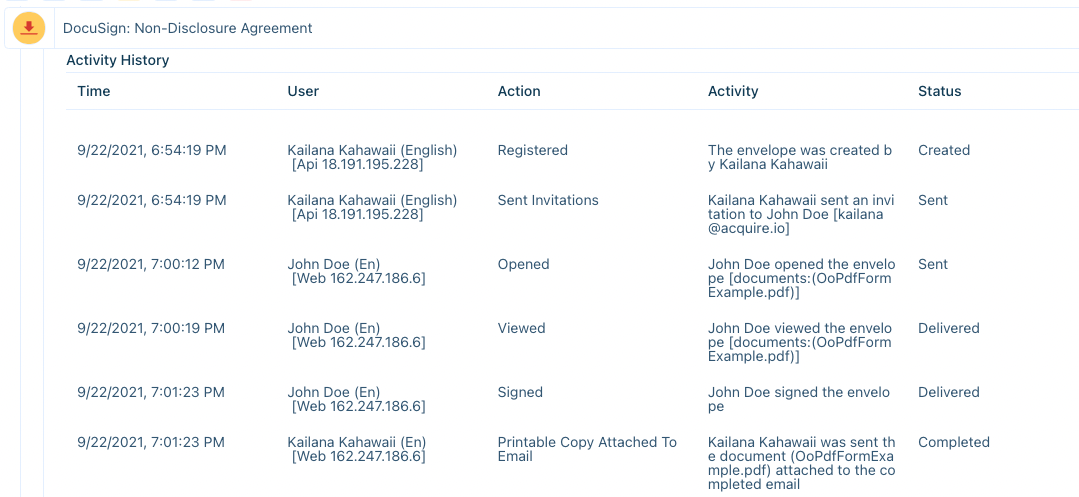
You’ll be able to see the envelope’s history, including if it was delivered to the client’s email address and if it was completed.
Viewing Envelope History
On a contact profile, click on the DocuSign icon. This will display all of the envelopes a contact was sent in chronological order.
Editing or Uninstalling DocuSign
Need to make changes to the block text? Go to the App Store and click on the three dots (‘...’) on the DocuSign tile and select ‘Edit’.
Need to uninstall? Go to the App Store and click on the three dots (‘...’) on the DocuSign tile and select ‘Uninstall’. The application will be uninstalled. Please note that the DocuSign icon will disappear from the contact’s profile and you will no longer be able to view envelope history from this location. The DocuSign blocks will still appear in the timeline, however, and you may continue to view envelope history from this location.
Was this article helpful?


